
We all know the traditional paper origami, but have you ever had a go at fabric origami?
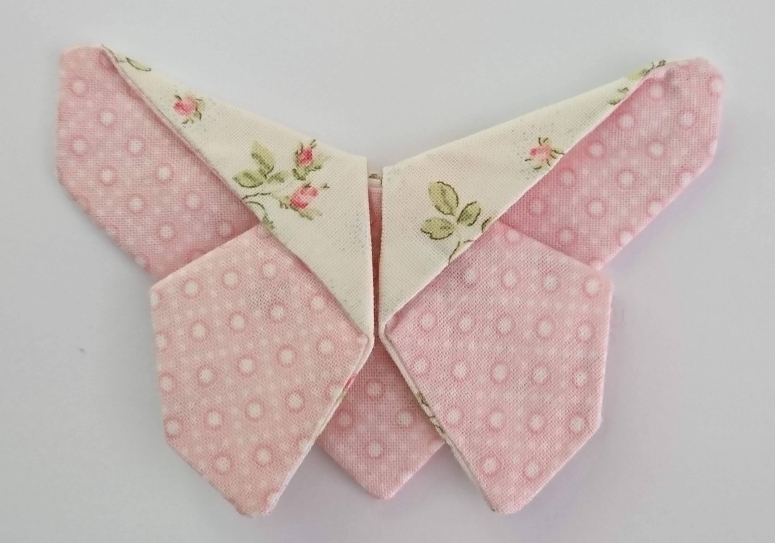
Please head to my new website to download my tutorial
Michelle x

We all know the traditional paper origami, but have you ever had a go at fabric origami?
Please head to my new website to download my tutorial
Michelle x


What a unique idea this is, perfect for embellishing a little girl’s dress!
LikeLiked by 1 person
This is beautiful. Are you going to be using them on a quilt?
LikeLiked by 1 person
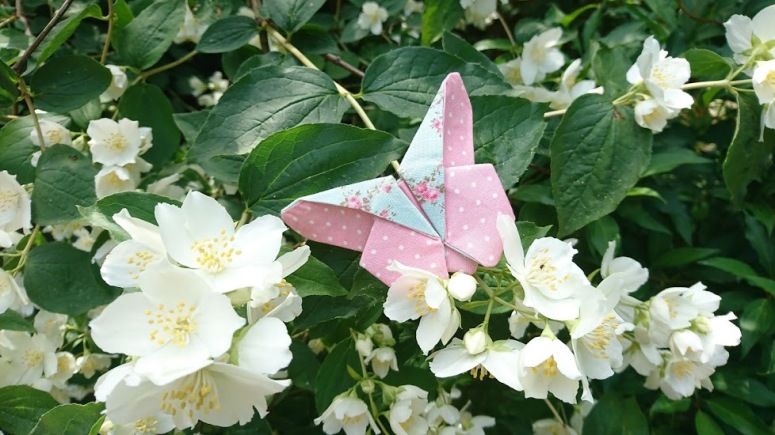
Thanks Jennifer, I was going to, but I ended up putting them on my mirror in my sewing room 🦋
LikeLike
Beautiful!
LikeLiked by 1 person
I want to make this for a pillow. How big does the butterfly end up being when completed? I think I saw that you start out with a 2 6×6 peices of fabric..?
LikeLike
Hi Heidi, they finish up approx 3.5″ x 2.5″. Happy sewing x
LikeLike
I really really like this.
LikeLiked by 1 person